It’s 2am and you’re not sure what woke you. Then you hear it; the faint hum of the sump pump kicking on. Again.
You grab your phone, point it toward the basement stairs, and there it is: water creeping across the floor, heading for the storage bins you swore were waterproof. That musty smell you’ve been ignoring? It’s not going anywhere.
Here’s the thing. You’re not alone in wondering What are common waterproofing mistakes? or if that can of sealer from the hardware store is actually going to fix the crack in your foundation wall. Hidden water damage doesn’t announce itself. It shows up slowly with peeling paint, efflorescence on concrete, that one corner that always feels damp.
Avoid these costly waterproofing mistakes. The ones that turn a $500 fix into a $5,000 repair. This blog covers seven errors that wreck basements and exactly how to prevent them.
Overview: The 7 Most Expensive Waterproofing Mistakes
Some mistakes announce themselves. A burst pipe. A collapsed ceiling. You know immediately that something went wrong.
Waterproofing mistakes don’t work that way. They’re quiet. They hide behind drywall and under floor joists. A crack you meant to fix last spring. A downspout that’s been dumping rainwater six inches from the foundation instead of six feet. A sump pump you haven’t tested since you moved in.
You wouldn’t be surprised to know that the most common DIY waterproofing mistakes all have one thing in common: they feel productive in the moment. You spread the sealant, paint on the coating, and walk away satisfied. Then the next rain comes, and the water finds the same path it always did.
Mistake #1: Ignoring the Source of Water
You see a wet spot on the basement floor. You grab a bucket. Problem solved, right? Wrong.
Basement waterproofing isn’t about managing symptoms, it’s about finding the source. Water doesn’t teleport through concrete, it follows a path. Somewhere outside, against your foundation, there’s a reason that water is inside.
How can waterproofing errors damage my home? This is where it starts. Patch the crack without redirecting the runoff, and you’ve bought yourself six months. Maybe a year. Then the water finds the next weakest spot.
What to do instead is to walk your property during a heavy rain. Watch where water pools. Check gutter downspouts—are they dumping water against the foundation? Look at your soil grading. The ground should slope away from your house, not toward it. That six inches of fall over ten feet? It matters.
Fix the source first and then seal the crack. Otherwise you’re just chasing water from one spot to the next.
Mistake #2: Neglecting Foundation Cracks & Structural Issues
That hairline crack in your foundation wall? The one you’ve been meaning to get to for, oh, three years now? It’s not waiting for you.
Foundation cracks are like cavities because they don’t heal themselves. They only get wider, deeper, and more expensive.
Water doesn’t need much of an opening. A crack the width of a credit card is plenty. Through that tiny gap, hydrostatic pressure pushes groundwater into your basement with surprising force. Over time, that trickle becomes a steady seep. The seep becomes a leak. The leak becomes a puddle. And that puddle is now someone’s mold colony.
What to do instead is inspect your foundation walls and floor annually. Look for horizontal cracks since those signal structural stress and need immediate professional attention. Vertical cracks are often less severe but still need sealing.
For small cracks, use epoxy or polyurethane injection. Epoxy restores structural strength. Polyurethane expands to fill gaps and stops water. Both work. But if the crack is longer than a foot, wider than ⅛ inch, or accompanied by bowing walls, stop Googling and call a pro.
Mistake #3: DIY Waterproofing Without Proper Knowledge
You watched a Seventeen minutes YouTube video. The guy made it look easy. Scrape, brush, roll, done.
Yet DIY waterproofing mistakes usually start when confidence exceeds knowledge. And somewhere between the hardware store and your basement floor, things go sideways.
DIY waterproofing risks aren’t just about wasted money, they’re about false security. You think you fixed the problem because the crack is now covered in sealant. But the water pressure is still there, building behind that pretty new coating, looking for the next exit.
Improper installation happens in three common ways: applying the wrong product, applying it on a damp surface, or applying it too thin. Any one of these guarantees failure. All three together? You’ve basically decorated your crack, not sealed it.
What to do instead is know your limits. Painting a waterproof coating on a concrete wall? Manageable. Finding out why water is entering at the cove joint where the wall meets the floor? That’s not a DIY project.
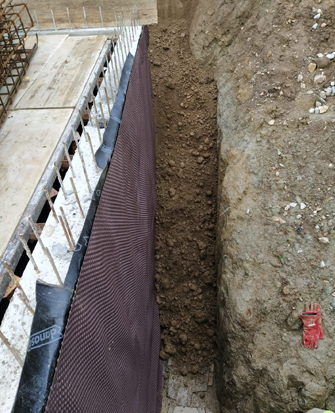
Mistake #4: Poor Slope, Drainage Design, and Soil Grading
Your foundation walls are concrete. They’re strong. But they weren’t designed to hold back a lake.
Soil grading is the single most overlooked part of basement waterproofing. The ground around your house should slope away around six inches of drop over the first ten feet. That’s not a suggestion. That’s physics.
Slope and drainage design matters because water follows gravity. If your yard pitches toward the foundation, every rainfall becomes a test of your basement’s endurance. The soil saturates, pressure builds, and water finds the easiest path to your home.
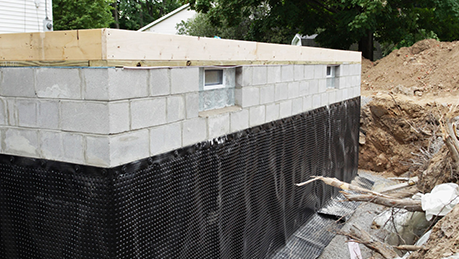
Drainage solutions aren’t complicated, but they require intention. French drains block water before it reaches the foundation. Channel drains move surface water away from walkways and driveways. Catch basins collect runoff from downspouts and redirect it somewhere useful, like the street, not your crawl space.
What to do instead is walk your property during a hard rain and watch where water collects. Is it pooling against the foundation? Are your downspouts dumping water six inches from the wall? That’s not drainage, that’s delivery.
Mistake #5: Skipping Sump Pump Installation or Backup Systems
You don’t need a sump pump. Until you do.
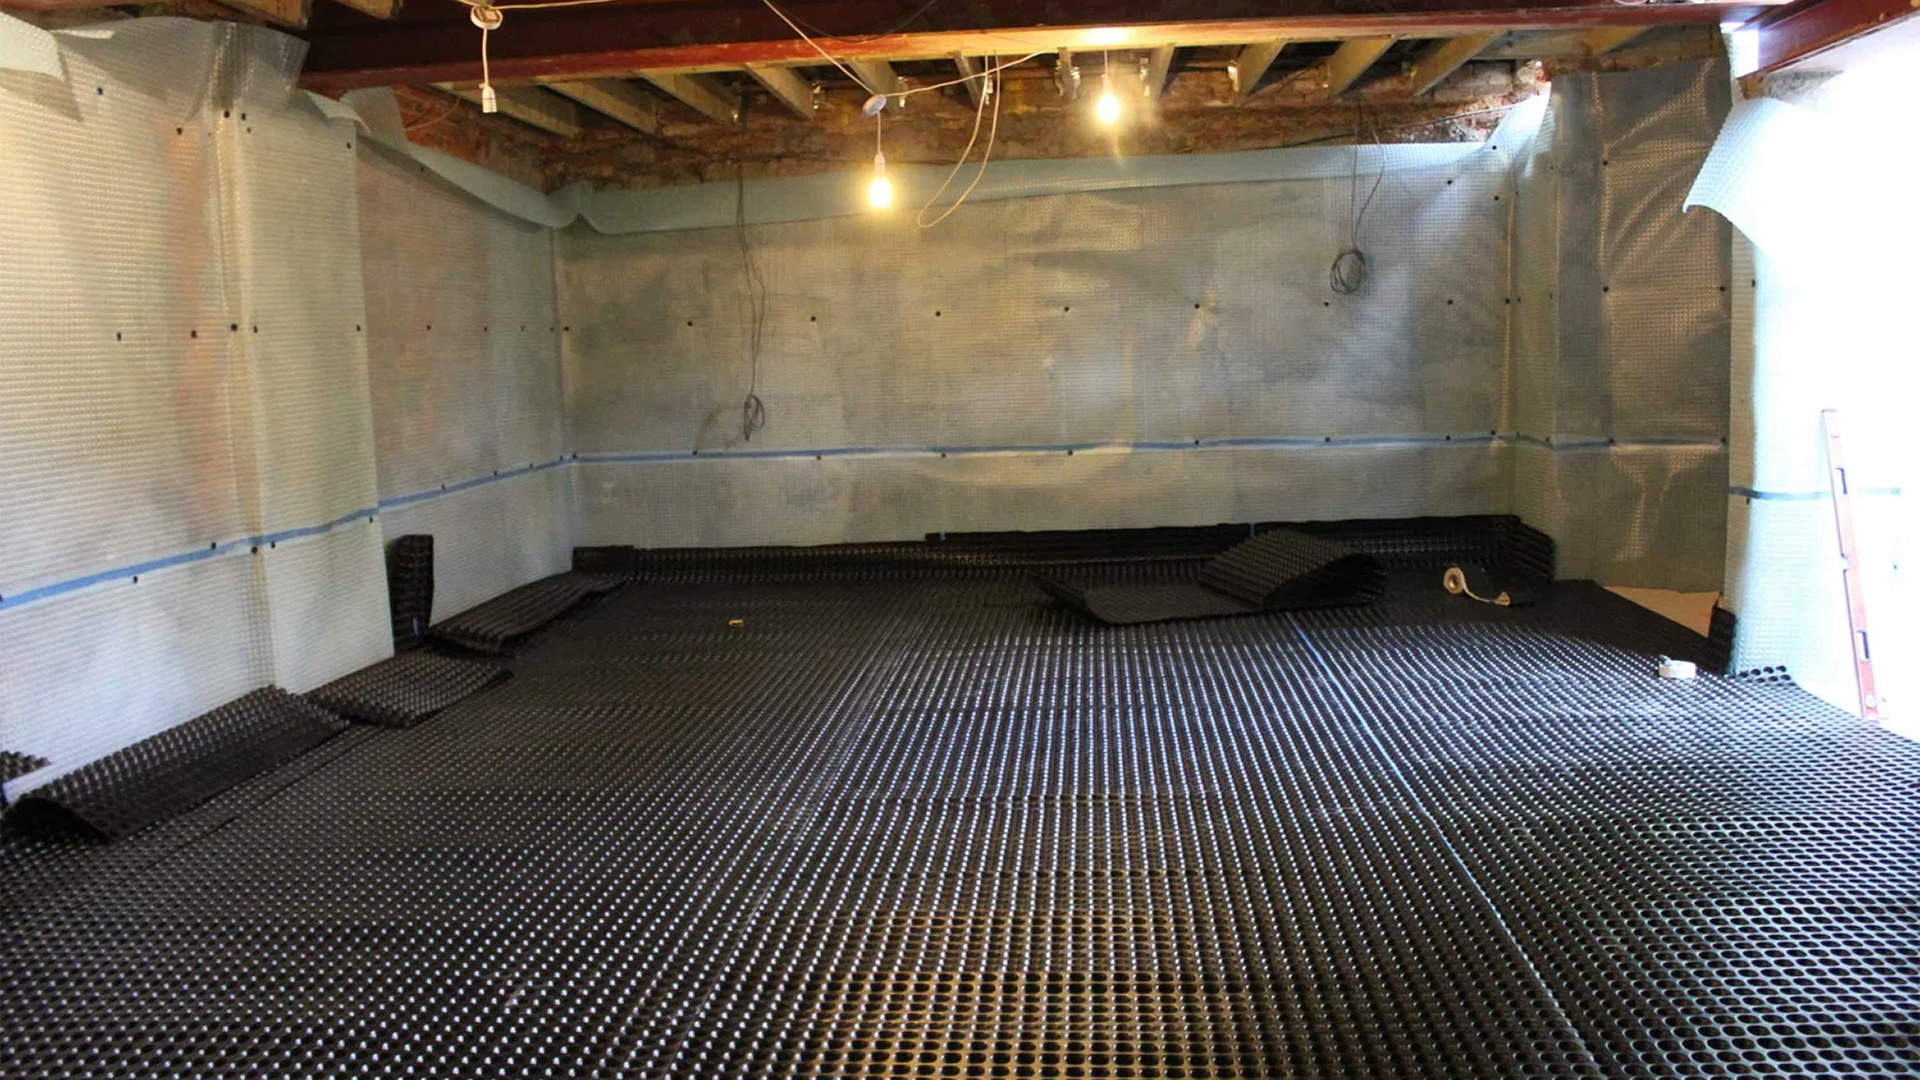
Sump pump installation isn’t required for every basement. But if you have drainage tile, a crawl space, or any history of groundwater issues, that plastic pit in your floor is your last line of defense.
Water damage prevention relies on one simple truth: water that enters must leave. A sump pump is the exit, since it collects groundwater before it reaches your floor, then sends it far away from your foundation. No pump means that water has nowhere to go but up and in.
And here’s what most homeowners miss: pumps fail. And they do so quietly. A stuck float switch. A power outage during the exact storm that’s testing your basement. A check valve installed backward. By the time you notice, the water is already spreading across your floor.
What to do instead is install a pump with a backup. Battery backups cost a few hundred dollars and can run for hours during an outage while secondary pumps provide redundancy. Water sensors alert your phone the moment the pit fills.
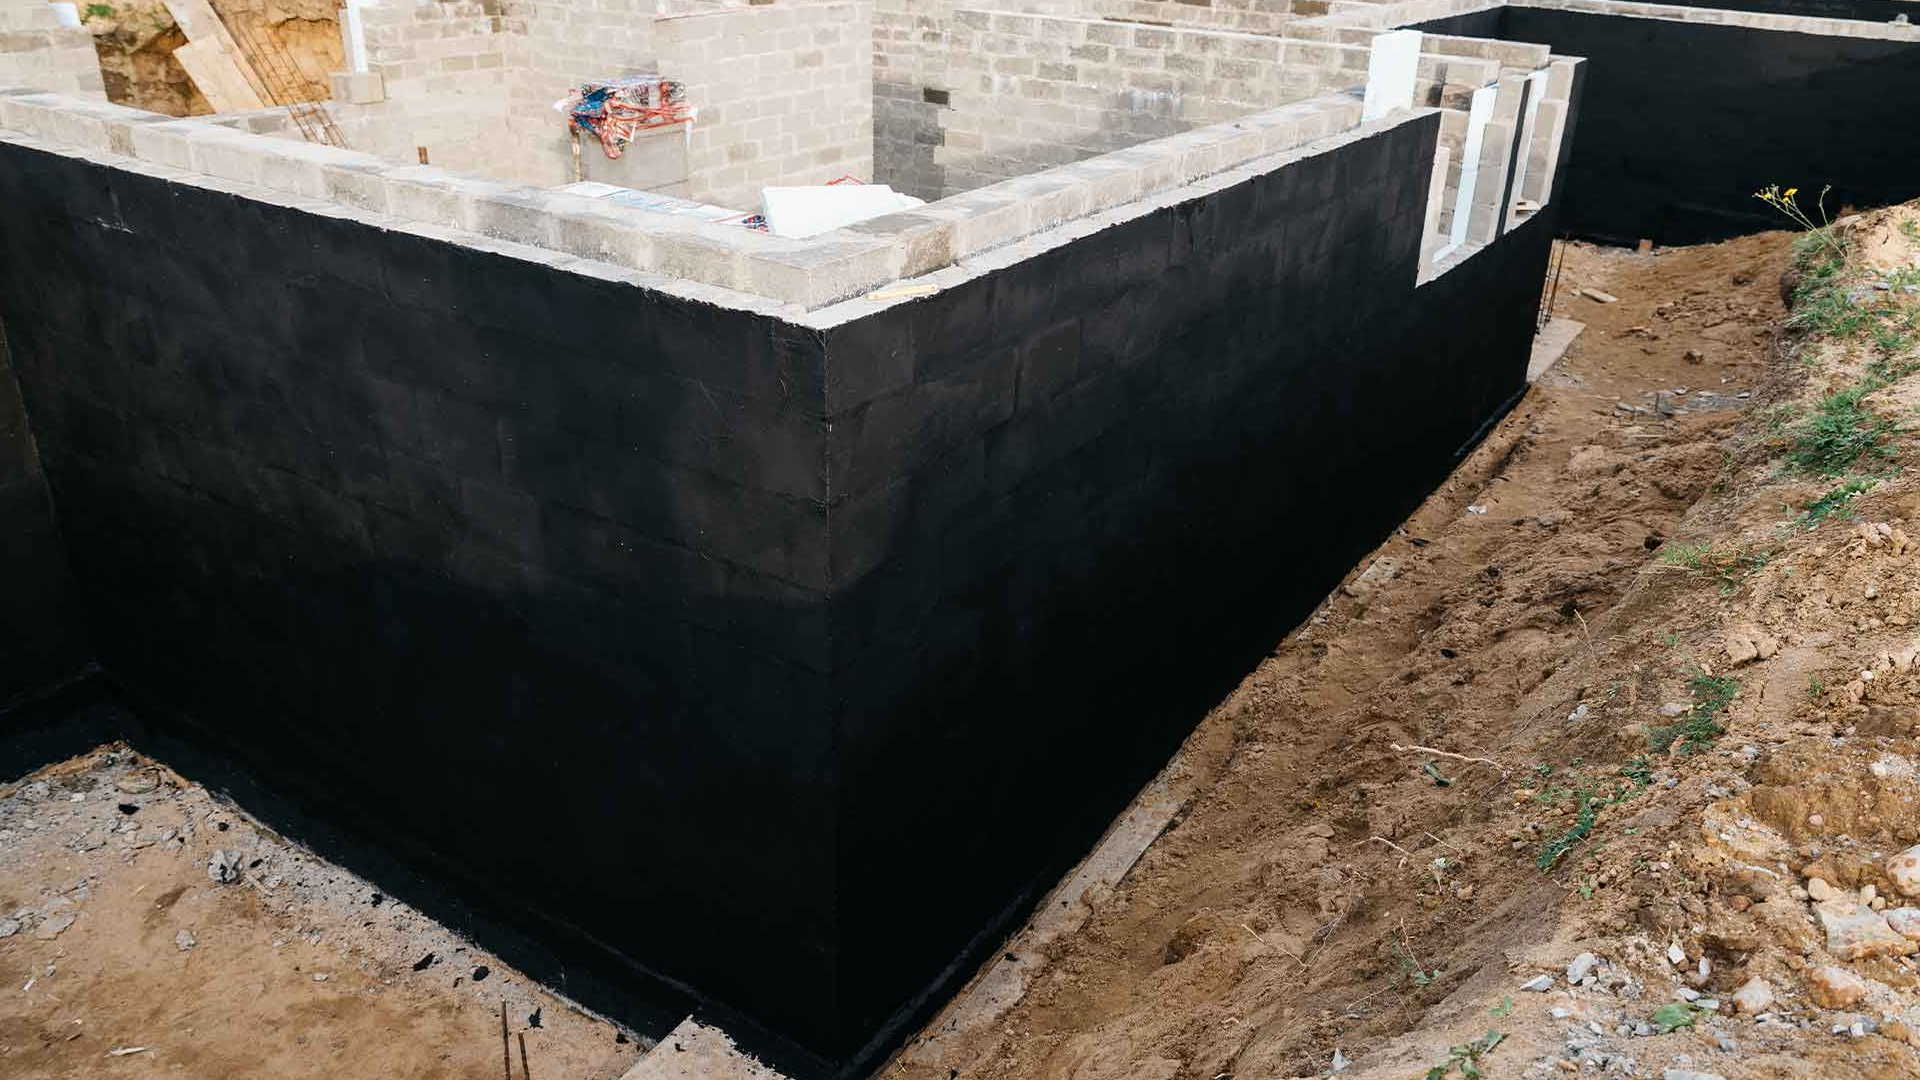
Mistake #6: Using the Wrong Waterproof Coatings
You walked down the hardware store aisle, grabbed the first can labeled “waterproofer,” and called it a day. Who has time to read fine print? But did you know that waterproof coatings are not interchangeable? That product designed for concrete block? It won’t adhere to poured foundation. That fancy elastomeric membrane rated for roof decks? It’s useless below grade. And that “waterproofing” paint you rolled onto your basement walls? It’s not waterproofing.
Primer for waterproofing exists for a reason. Skip it, and your topcoat bonds to dust and efflorescence instead of sound concrete. A few weeks later, it’s peeling off in sheets and you blame the product while the product blames your surface prep. Everyone loses.
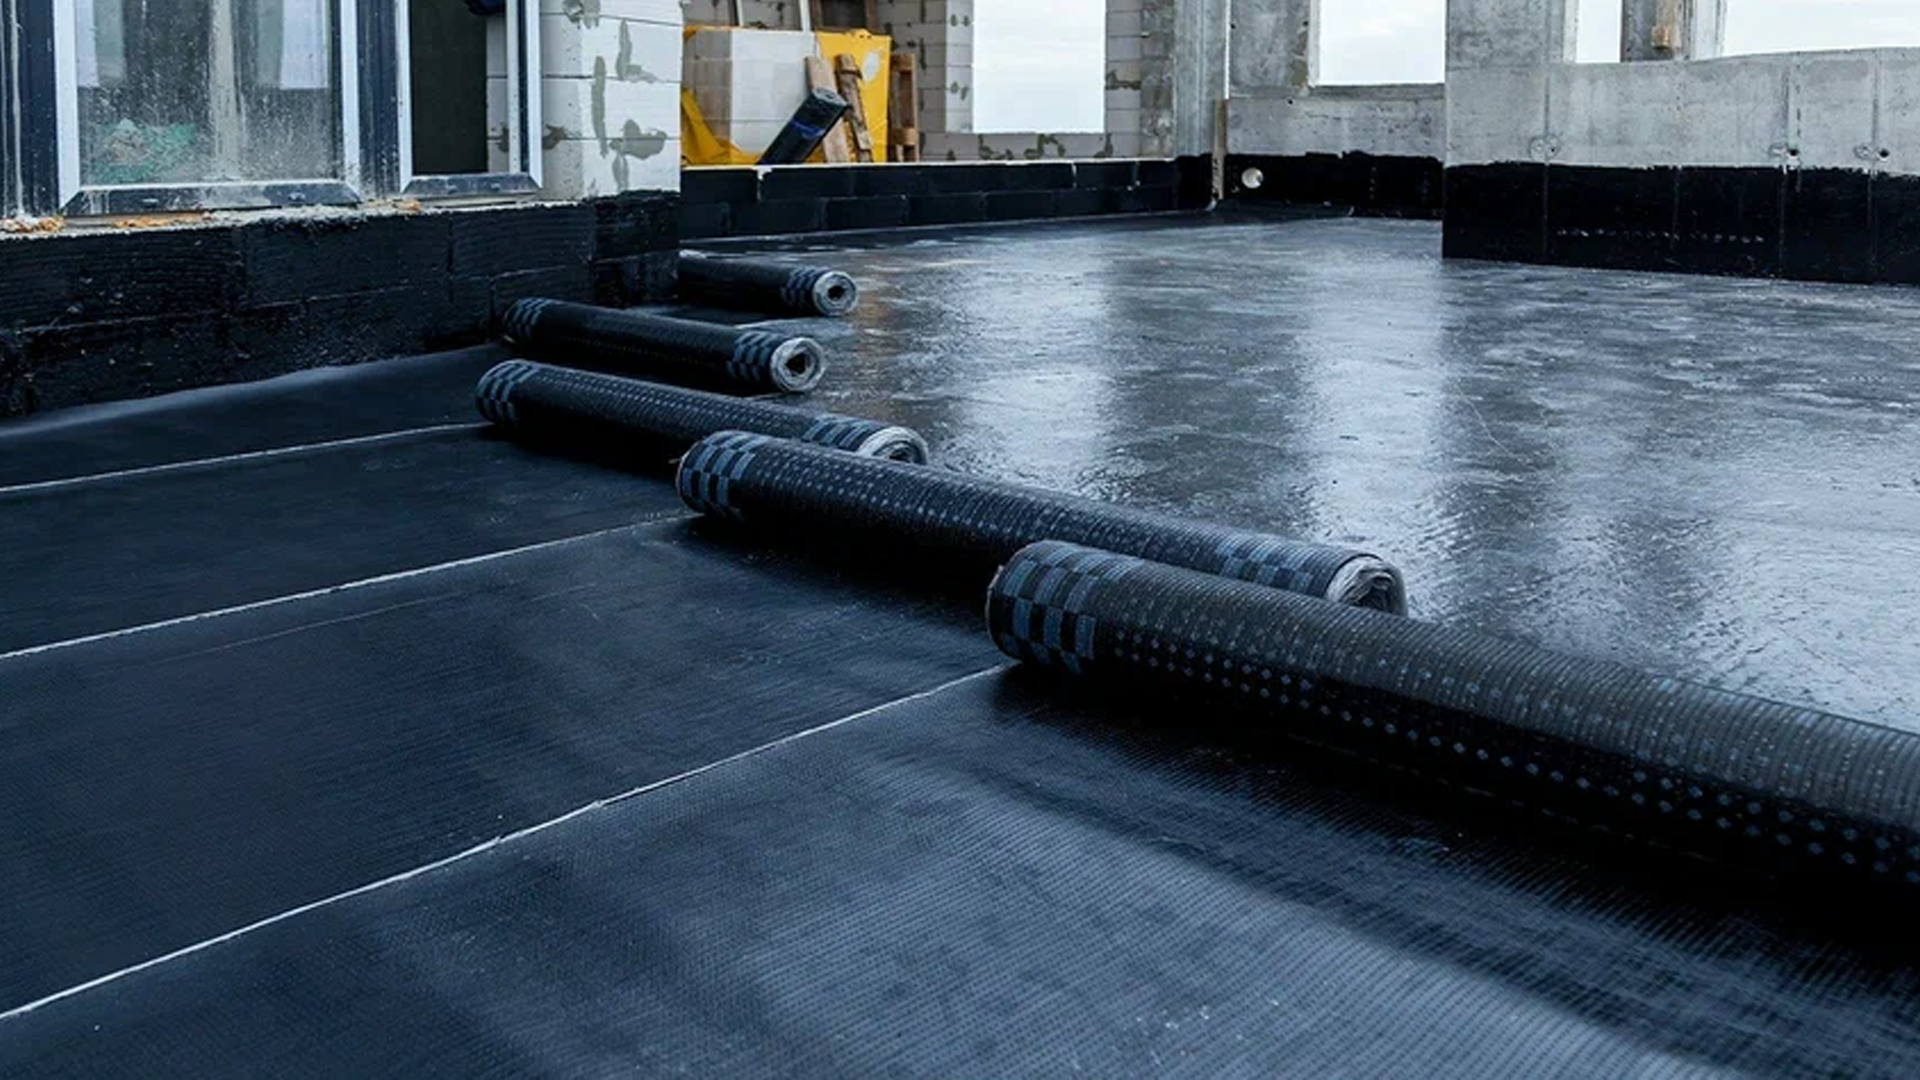
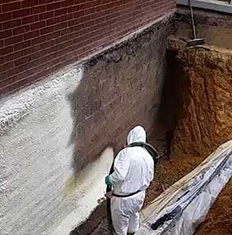
What to do instead is match the material to the location and substrate. Cementitious coatings work well on interior masonry. Liquid membranes flex over cracks. Sheet membranes provide heavy-duty protection for below-grade walls. Read the label. If it says “for interior use only,” don’t put it on your foundation exterior.
Mistake #7: Ignoring Regular Maintenance and Surface Preparation
You waterproofed your basement five years ago. It’s been dry ever since. Job done, right? Not quite.
Moisture management isn’t a one-and-done task. It’s ongoing. Gutters clog. Downspout extensions get kicked aside by the lawn mower. Sump pumps wear out. Cracks that were sealed a decade ago can reopen as your foundation settles.
Surface preparation is the step everyone wants to skip. You’re eager to see that fresh coating go on, but applying waterproofing over dirt, efflorescence, or loose paint only guarantees failure. The coating doesn’t fail immediately. It waits. Then one humid summer, it bubbles and peels, and you’re right back where you started.
Mold prevention starts before water ever enters your basement. Because once mold establishes itself, it doesn’t leave willingly. It spreads behind drywall, under flooring, inside HVAC systems. You don’t smell it until the colony is thriving.
What to do instead is take a walk around your foundation perimeter twice a year. Spring and fall. Check gutters, downspouts, and grading. Test your sump pump. Look for new cracks or signs of efflorescence.
Your Basement Deserves Better
Here’s what seven mistakes really add up to. Waterproofing isn’t about quick fixes or hardware store promises. It’s about finding the source, not just painting over symptoms. Grading. Drainage. Cracks sealed the right way. A sump pump that actually works. Most basement flooding is a chain of small decisions you didn’t know were connected. Now you do.
If that 2am sump pump hum sounds familiar, you don’t need another YouTube tutorial. You need someone who stops water at the source, not just where it shows up. Chris Landscaping & Basement Waterproofing Corp provides professional Waterproofing & Drainage Services that keep basements dry through every season.
FAQs
What are signs that waterproofing is failing?
Peeling or bubbling paint on basement walls. Efflorescence on concrete. Musty odors. Damp spots that never fully dry. Cracks that grow wider over time. Water stains near the floor.
What’s the average cost of waterproofing a basement?
Interior solutions average $500–$2,000. Exterior waterproofing runs $3,000–$10,000. French drains: $2,000–$6,000. Sump pump installation: $1,000–$3,000. Costs vary by region and severity.
How can waterproofing errors damage my home?
Trapped moisture rots framing. Mold spreads behind walls. Foundation cracks widen under hydrostatic pressure. Insulation loses R-value. Finished basements become tear-outs. Small leaks become big repairs.
The most common DIY waterproofing mistakes?
Sealing cracks without fixing drainage. Using interior paint as waterproofing. Skipping surface prep. Applying coatings to damp concrete. Ignoring gutters and grading. No backup sump pump. Wrong product for the surface.
How can waterproofing errors damage my home?
They turn manageable moisture into structural damage. Hidden mold. Rotting sill plates. Bowing walls. Saturated insulation. By the time you see it, the repair cost has multiplied.