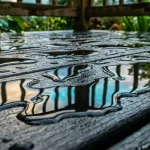
You’re heading down to the basement to grab something from storage when you notice it. That damp spot near the corner that wasn’t there last month. Or maybe it was, and you just didn’t want to think about what it meant.
Here’s the thing about waterproofing. It’s one of those home maintenance tasks that’s easy to put off because the consequences aren’t immediate. A little moisture today becomes a bigger problem next month, and an even bigger one next year. Eventually, you’re standing in front of a hardware store aisle wondering if a can of sealant is going to fix it or if you need to call in the pros.
What are the risks of DIY waterproofing? They’re real, but so are the possible savings. This blog breaks down the pros and cons of DIY vs professional waterproofing, what each approach actually involves, and how to decide which path makes sense for your home.
What is DIY Waterproofing?
You know that aisle at the hardware store with all the tubes and buckets labeled “waterproof” in bold letters? The one you wander down when you’re hoping for a quick fix? That’s where DIY waterproofing lives.
Water proofing DIY means handling the job yourself with products anyone can buy. A tube of sealant here, a bucket of waterproof paint there, maybe some hydraulic cement if you’re feeling ambitious. You grab what looks right, spend a Saturday spreading it around, and hope the problem goes away.
People usually try this route when they spot a little basement dampness, a small crack in the foundation, or a roof leak that seems contained. DIY waterproofing basement projects often start with good intentions. You mix the stuff, trowel it into the crack, and step back feeling pretty good about yourself.
The reality is that these products work best for specific situations. A waterproofing treatment on a small bathroom floor? Fine. Sealing up every crack in your foundation without understanding why water is getting in? That’s where things get complicated.
Pros and Cons of DIY Waterproofing
Let’s be honest. That tube of sealant costs twenty bucks. A professional waterproofing job costs thousands. The math seems simple at first.
DIY pros and cons start with that upfront savings. You pay for materials, not labor. You work on your own schedule, even if that schedule means tackling a basement crack at 10pm on a Tuesday because you’re finally fed up with the damp smell. There’s something satisfying about fixing things yourself, about mixing up a batch of hydraulic cement and watching it seal a crack you’ve been staring at for months.
But here’s where it gets complicated.
DIY waterproofing failures happen when the real problem isn’t the crack you can see, but the water pressure behind it. That twenty dollar tube of sealant gets pushed right out when hydrostatic pressure builds up after a heavy rain. Then you’re right back where you started, except now you’ve wasted a weekend and have a slightly more expensive problem.
The hidden costs of waterproofing mistakes add up fast. The mold that grows behind that wall you thought you fixed. The paint that peels because moisture kept seeping in. The floor that buckles when that “minor” leak turns into something more. By the time you call a professional, the job is bigger and more expensive than it would have been if you’d called them first.
DIY Pros | DIY Cons |
Lower upfront cost | May not address root cause |
Work on your schedule | No warranty or guarantee |
Immediate action | Risk of common mistakes |
Hands-on satisfaction | Hidden long-term costs |
Tools and Materials Needed for DIY Waterproofing
Before you start mixing and spreading, you need to know what you’re working with. The right tools make the difference between a fix that lasts and one that fails in six months.
What tools do I need for DIY waterproofing? Here’s a quick rundown of the basics:
- Wire brush for cleaning away loose material and prepping surfaces
- Caulking gun for applying sealants and caulks into cracks and joints
- Trowel for working with hydraulic cement and patching compounds
- Rollers and brushes for applying coatings to larger wall or floor areas
- Hammer and chisel for widening cracks before filling them (when necessary)
- Shop vacuum for clearing out dust and debris from cracks and holes
- Mixing paddle and drill for blending thicker materials like cementitious coatings
The materials you need depend on where you’re working. For basements, hydraulic cement works well for active leaks while masonry sealants handle general dampness. A waterproofing scheme is just a fancy way of saying you need a plan for which product goes where and in what order.
The trick is surface preparation. Clean, dry surfaces let products bond properly. Rushing this step is how common waterproofing mistakes happen. Take the time to wire brush away loose material, vacuum out dust, and let things dry before you start sealing. Your future self will thank you.
When DIY Waterproofing Works
Let’s be realistic. There are times when DIY makes perfect sense.
DIY basement sealing works well for minor issues like small hairline cracks or light surface dampness that doesn’t involve standing water. If you’ve got a spot on the wall that feels slightly moist after heavy rain but dries out between storms, a quality sealant might do the trick.
Foundation waterproofing DIY projects are best limited to preventive maintenance on newer foundations that don’t have active leaks. Applying a waterproof coating to an exterior wall that’s already exposed? Fine. Trying to stop water that’s actively pouring through a crack? That’s asking for trouble.
Low-risk areas are where DIY shines. Think small bathroom floors, terrace corners, balcony edges, or spots where water splashes but doesn’t pool. These are places where foundation waterproofing DIY methods can add years of protection without much risk.
The other situation where DIY makes sense is as a temporary fix. Sometimes you need to slow down a leak while you save up for professional work or wait for a contractor to become available. A quick patch can buy you time. Just don’t confuse a temporary fix with a permanent solution.
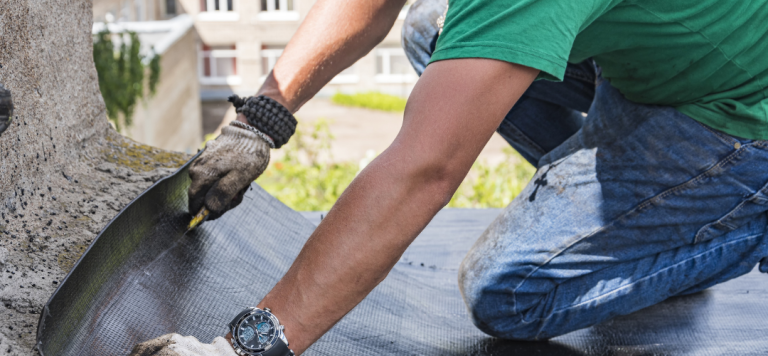
What is Professional Waterproofing?
You know how DIY is you watching a YouTube video and hoping for the best? Professional waterproofing is the opposite of that.
Professional waterproofing starts with someone who does this for a living walking through your home, checking every corner, and figuring out where the water is actually coming from. Not where it’s showing up, but where it’s entering. Those are often two different places.
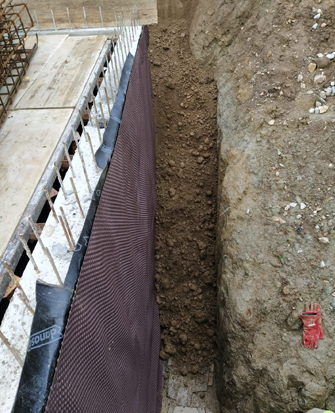
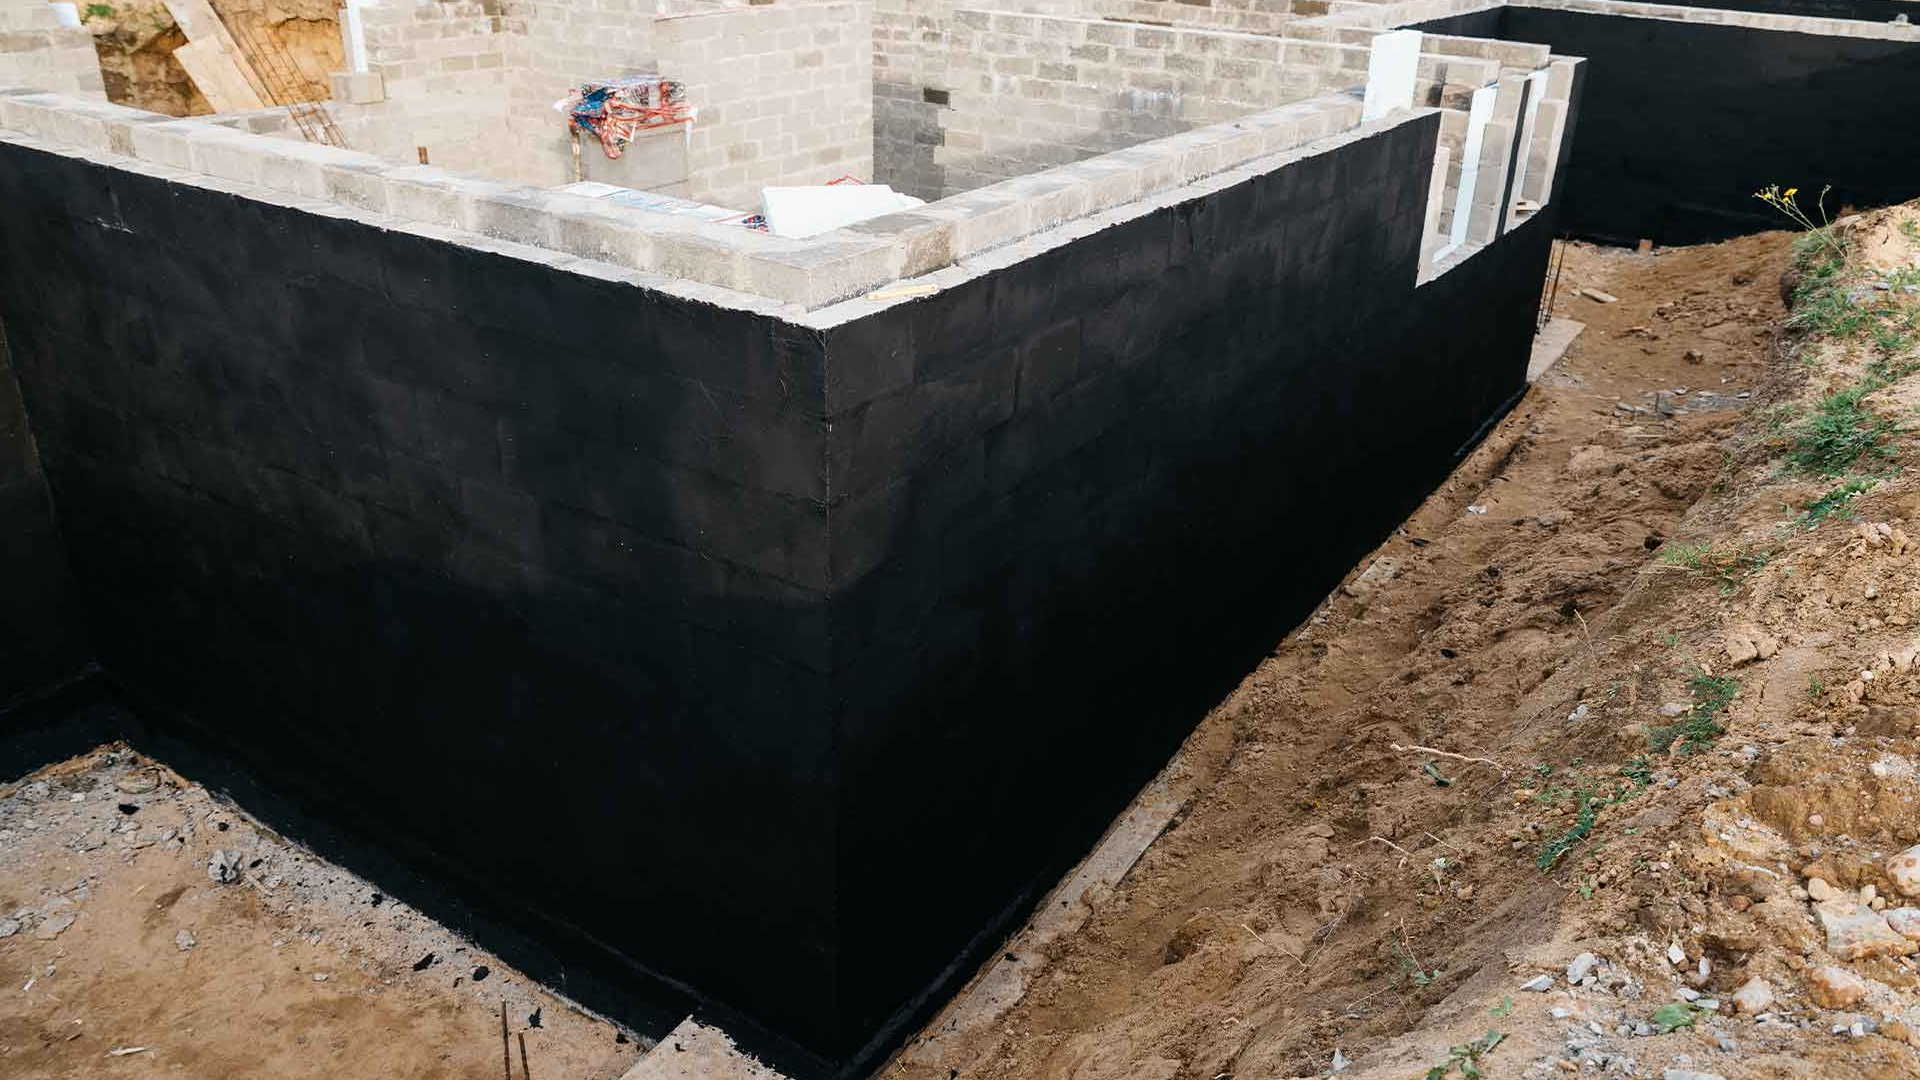
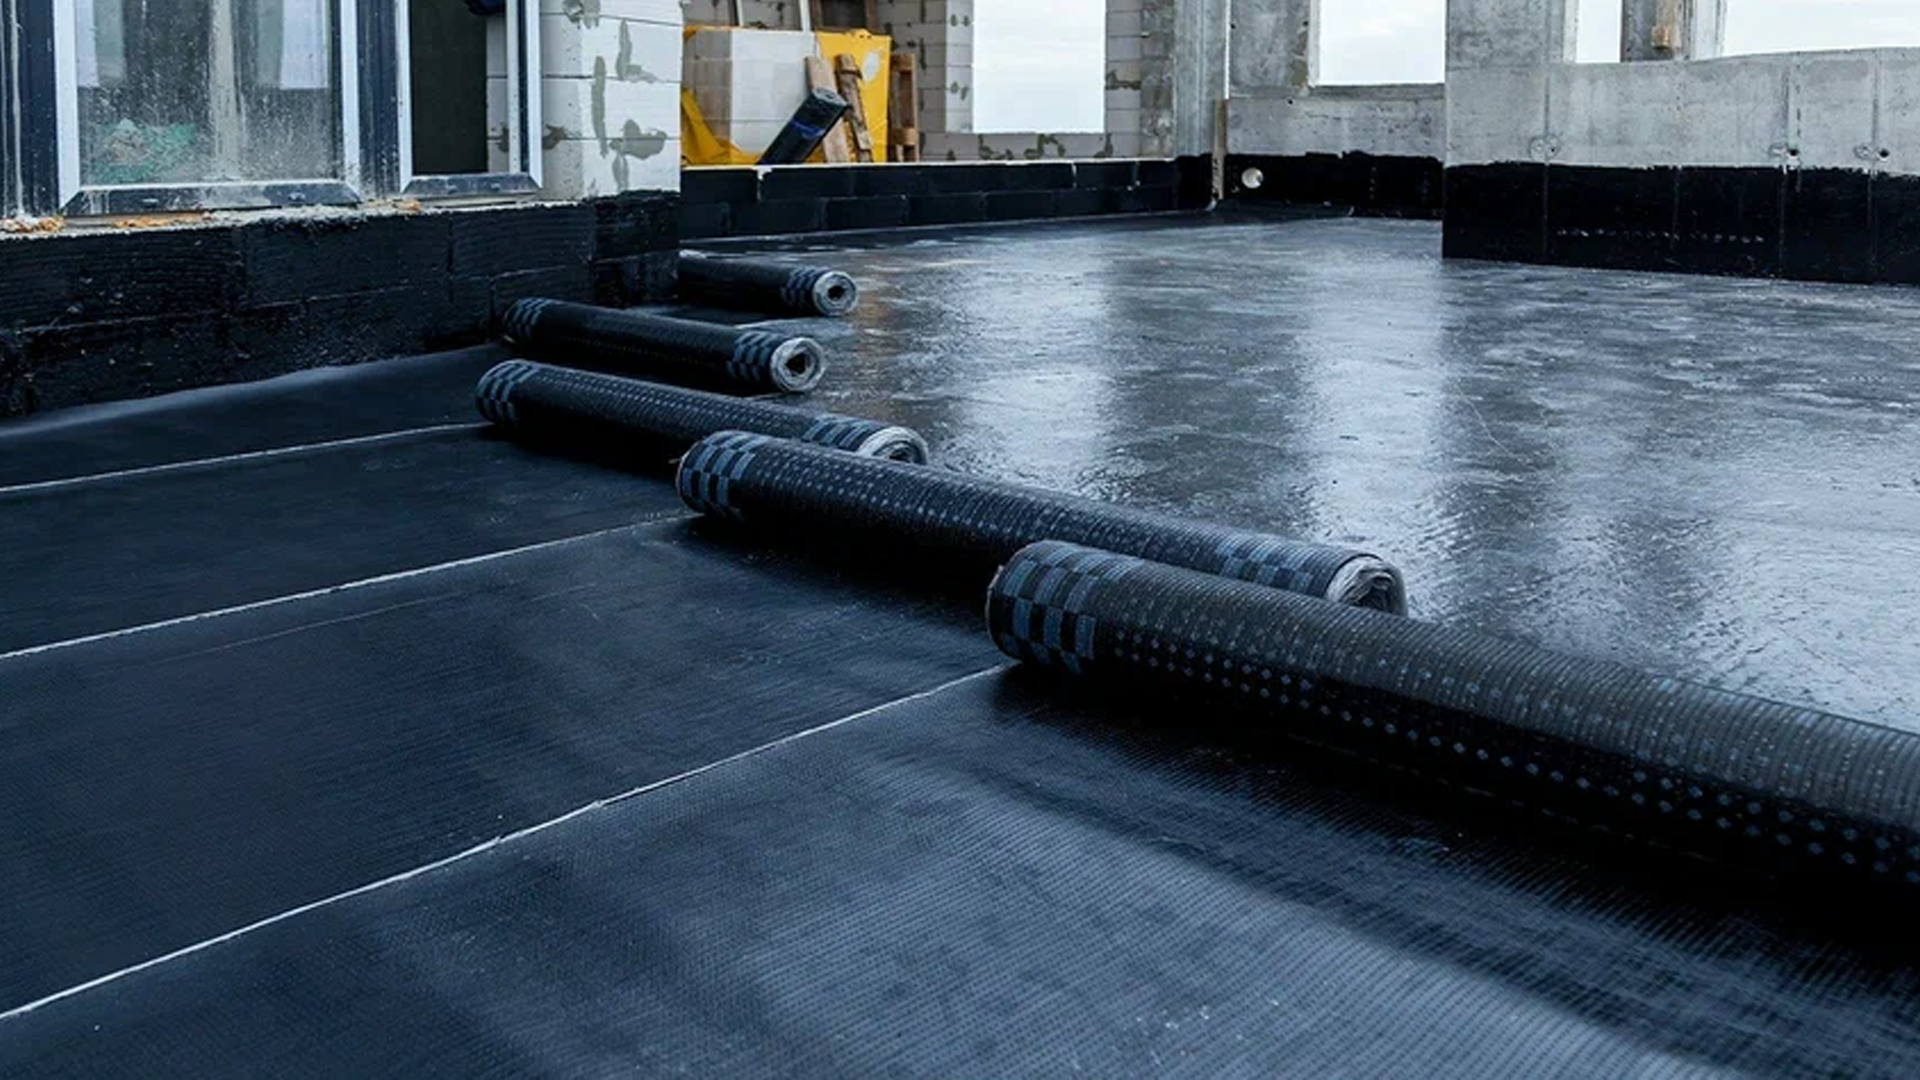
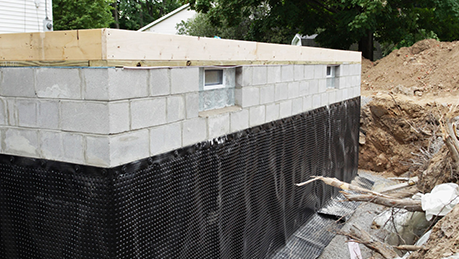
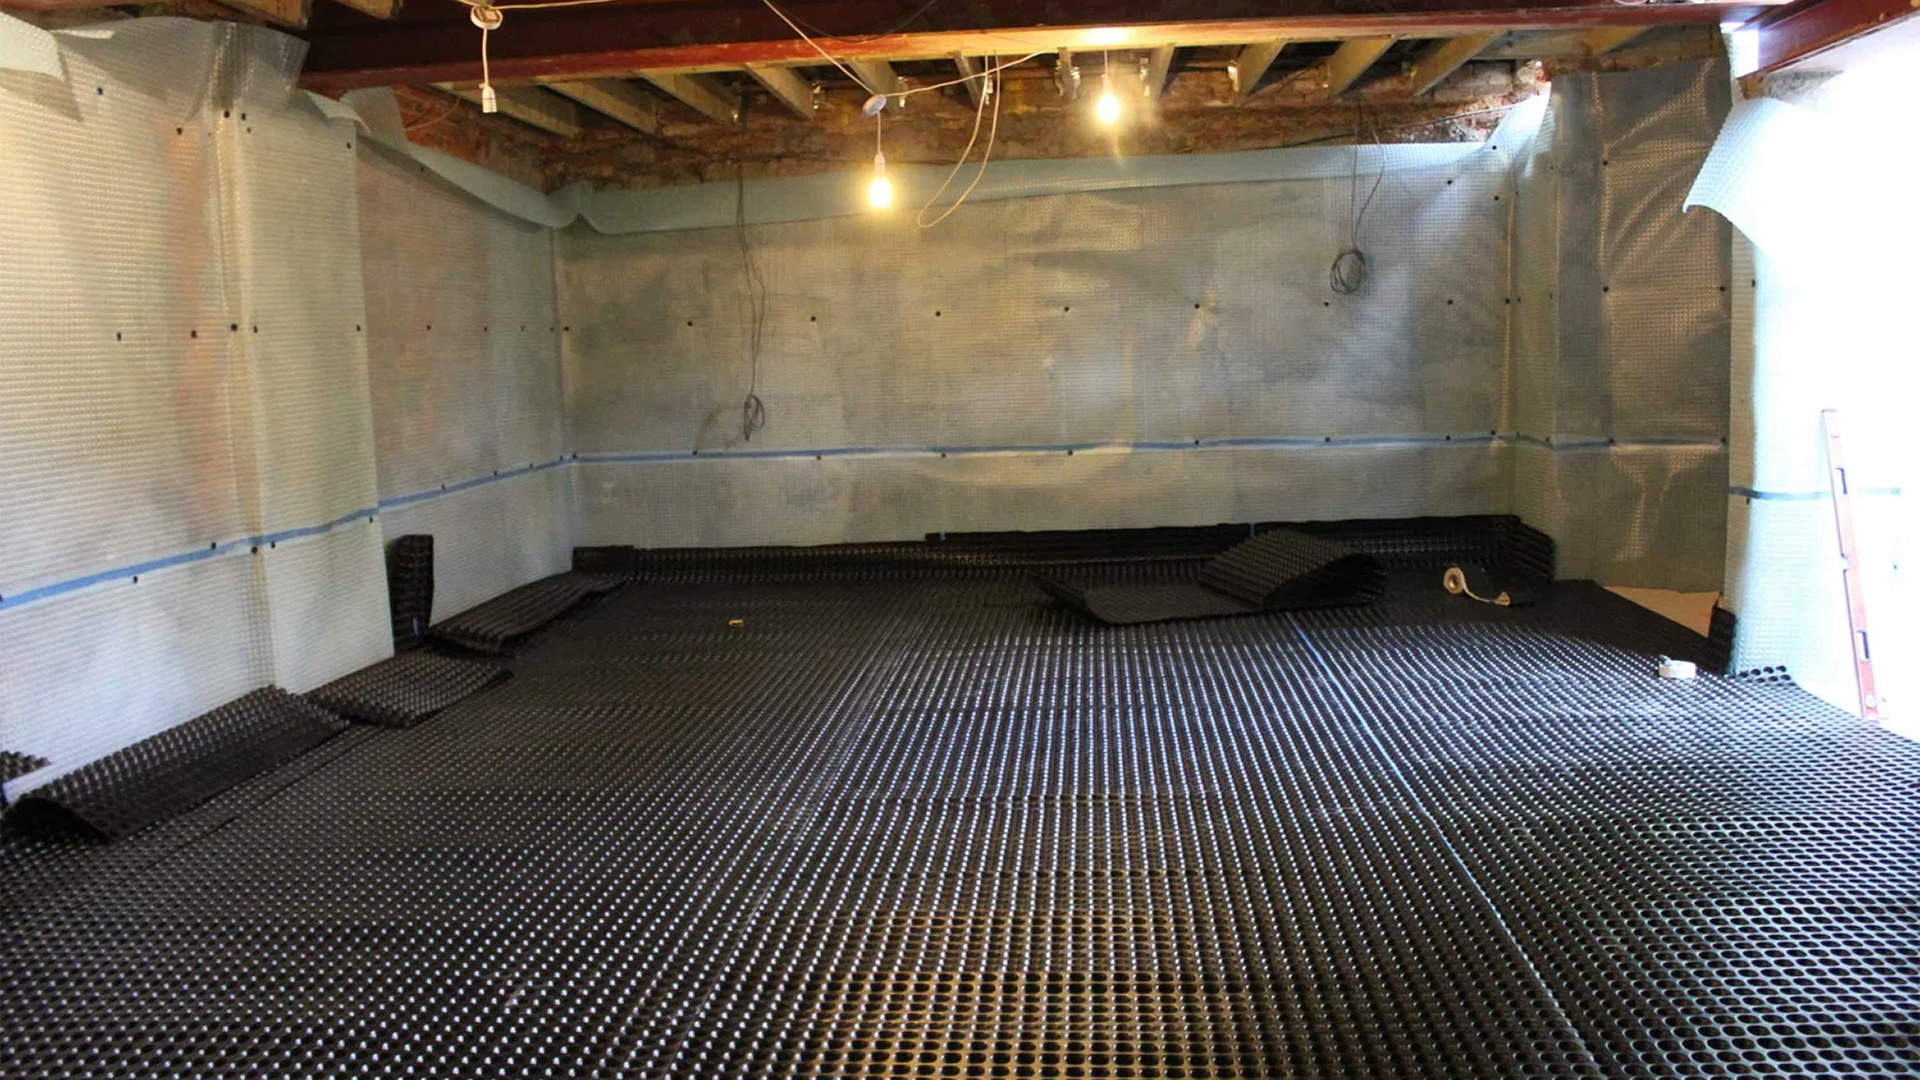
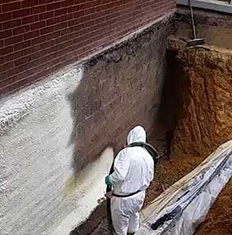
The methods pros use go way beyond what you can buy at the hardware store. Professional foundation waterproofing might mean excavating around your foundation to apply exterior membranes, installing French drains to redirect groundwater, or setting up sump pumps to handle what collects under your basement floor. Talking of roofs, professional roof waterproofing involves industrial-grade membranes, proper flashing details, and materials designed to handle years of UV exposure and temperature swings.
Beyond basements and roofs, professional water sealant isn’t the same stuff in the bucket at the hardware store. These are specialized products, often applied in multiple layers, that bond with your home’s structure rather than just sitting on top of it. When you hire someone who knows what they’re doing, you’re paying for their ability to diagnose the real problem and apply the right solution the first time.
Pros and Cons of Professional Waterproofing
Let’s be upfront about it. Professional waterproofing costs more. Sometimes a lot more. But before you let that price tag scare you off, it helps to understand what you’re actually paying for.
When you hire a pro, you’re paying for someone to figure out why water is getting in, not just where it’s showing up. That difference matters because water is sneaky. It can travel along pipes, behind walls, and under floors before it finally drips somewhere you notice. A good contractor traces it back to the source.
How much does professional waterproofing cost? It varies wildly depending on what needs to be done. A sump pump installation might run a couple thousand. Excavating around your foundation and applying exterior membranes could be ten times that. The number sounds scary until you compare it to the cost of structural repairs, mold remediation, and replacing finished basements.
The average cost of professional waterproofing is hard to pin down because every house is different. Soil conditions, foundation type, and the severity of the problem all play a role. What matters more than the upfront number is whether the work comes with a warranty. Most reputable companies stand behind their work for years, sometimes decades.
Professional Pros | Professional Cons |
Addresses root cause | Higher upfront cost |
Long-lasting solutions | Requires scheduling |
Warranty protection | May need multiple visits |
Proper diagnosis | Can disrupt your home |
Code compliance | Not all contractors are equal |
Cost Comparison: DIY vs Professional Waterproofing
Let’s talk numbers, because that’s usually where the decision starts.
DIY waterproofing cost looks attractive at first glance. A bucket of sealant runs twenty to fifty bucks. Hydraulic cement is maybe ten dollars a tub. Waterproof paint might set you back forty. For a couple hundred dollars, you can buy enough materials to cover a whole basement wall.
But here’s what that number doesn’t include. The tools you don’t own yet. The weekend you spend doing it yourself. The second weekend when the first attempt fails. The mold remediation six months later when water kept seeping behind your “fix.” Those are the hidden costs of waterproofing mistakes, and they add up fast.
Professional costs are higher upfront but come with things DIY can’t offer. Materials that actually stand up to hydrostatic pressure. Labor from people who’ve done this hundreds of times. Warranties that mean if it fails, they come back and fix it for free.
Cost Factor | DIY Waterproofing | Professional Waterproofing |
Materials | $50–$500 | $500–$5,000+ |
Tools | $50–$200 (if you don’t own them) | Included |
Labor | Your time (free?) | $500–$5,000 |
Hidden costs | Mold, rot, repeat attempts | $0 (with warranty) |
Long-term value | Questionable | Added to home equity |
The math changes when you look at ten years instead of ten days. A cheap fix that fails costs you twice. A professional job that lasts costs you once. And when it’s time to sell, that transferable warranty and dry basement show up on the inspection report as a feature, not a liability.
Making the Right Choice for Your Home
So “When should I hire a professional waterproofing company? Start by being honest about what you’re dealing with.
When DIY waterproofing makes sense:
- Small, isolated cracks with no signs of spreading or water actively pushing through
- Surface dampness in unfinished areas where a leak won’t destroy finishes or belongings
- Preventive coating on balconies, terrace corners, or bathroom floors before problems start
- Temporary fixes while you save up for professional work or wait for a contractor
- You have basic skills and confidence that you can follow instructions and prep surfaces properly
When to call a professional waterproofing contractor:
- Water is actively coming through walls or pooling on floors
- Cracks are growing wider or you can see foundation movement
- Musty smells or visible mold suggest moisture has been hanging around for a while
- Finished living spaces are involved where water could destroy floors, walls, or belongings
- You’ve already tried DIY and the problem came back (that’s your sign it was never fixed)
- You want a warranty and peace of mind that someone else is responsible if it fails
The pros and cons of DIY vs professional waterproofing ultimately come down to risk. DIY saves money upfront but takes on all the liability. Professional costs more but transfers that risk to someone with insurance, warranties, and years of experience.
Waterproofing Done Right
Here’s what it all comes down to. DIY waterproofing has its place for small, simple jobs where the stakes are low and you’re willing to take the risk. But when water keeps coming back, when cracks keep growing, or when finished spaces are involved, professional work isn’t an expense, it’s an investment. The right fix done once beats a cheap fix done three times.
If you’ve tried the DIY route only to end up right where you started, we don’t blame you. Water is stubborn stuff. Chris Landscaping & Basement Waterproofing Corp specializes in Waterproofing & Drainage Services that actually last, helping homeowners like you keep water damage at bay and ensure your basement stays dry as a bone. Call (516) 439-9462 or visit https://chriswaterproofingcorp.co/waterproofing/ to learn more.