You walk into your basement and notice that familiar musty smell, the one you have been ignoring for months. The walls look dry and the floor feels fine, but something is definitely off. Water has a way of hiding where you cannot see it, quietly causing damage until it is too late to ignore.
Here is the good news. Figuring out how to tell if you have a water leak in your house does not require expensive tools or a professional inspection. Your nose, your eyes, and a few common household items can reveal exactly what is happening behind your walls and under your floors.
This guide walks you through six simple, equipment-free tests to check for hidden moisture around your home. From a piece of aluminum foil to a paper towel, you will learn how to check waterproofing at home without spending a dime. Let us find out if your home is truly as dry as you think.
How to Tell If You Have a Water Leak in Your House?
Before you run any tests, you need to know what you are looking for. Your home gives you clues long before water becomes visible. Here are the warning signs to watch for.
| Warning Sign | What It Means |
| Water stains on walls or ceilings | Water is seeping through from above or behind |
| Peeling paint or bubbling wallpaper | Moisture trapped beneath the surface |
| Musty or earthy odors | Mold or mildew growing somewhere hidden |
| Warped or buckling floors | Moisture has reached the subfloor |
| Sticking doors or windows | Foundation may be shifting from water damage |
| Unexplained increase in water bills | Possible hidden leak in plumbing |
Signs of water damage often show up in subtle ways. A yellow or brown ring on your ceiling is not just an eyesore. It is a warning that water has been traveling through your roof, pipes, or walls. Peeling paint or wallpaper that bubbles when you press it means moisture is trapped underneath.
Also pay attention to smells. A musty or damp odor is not something you should ignore. It usually means mold or mildew is growing somewhere out of sight, and where there is mold, there is moisture. Sticking doors and windows are another clue. When water seeps into your foundation, it can cause the structure to shift slightly, making frames twist and doors hard to close.
Water leakage detection starts with paying attention to these small signs before they become big problems. A proactive check beats waiting for disaster every time.
Test 1 — The Aluminum Foil Condensation Test
This is one of the simplest ways to figure out where moisture is coming from. All you need is a roll of aluminum foil and some tape.
Cut a square of foil about 12 inches by 12 inches. Tape it securely to your basement wall, making sure the edges are sealed. Leave it in place for 24 to 48 hours. Then peel it off and check both sides.
Here is what the results tell you. If condensation appears on the side that was against the wall, water is seeping through the concrete from outside. That means your basement waterproofing is not holding up and moisture is making its way inside. If the condensation is on the room-facing side, the issue is high indoor humidity, not an exterior leak.
This test is one of the most effective DIY waterproofing inspection methods because it gives you a clear answer. Condensation on the wall side tells you water is coming from outside. Condensation on the room side tells you to invest in a dehumidifier.
Test 2 — The Smell Test
Your nose is one of the best leak detectors you own. It costs nothing and works instantly.
Close up your basement or any room that feels questionable for a day or two. Walk in and take a deep breath. What do you smell? If you catch a musty, damp, or earthy odor, that is moisture speaking to you. That smell is mold and mildew starting to grow in places you cannot see.
A damp or musty odor is one of the most reliable signs your house is not waterproof. Even if everything looks dry, that smell means water is present somewhere. It could be behind walls, under flooring, or in your crawl space. Mold does not need standing water to grow, just consistent moisture and darkness.
If you notice this smell, do not ignore it. It is not going away on its own. You need to find the source and address it before the problem spreads. This test is one of the simple ways to check dampness in house without any tools or equipment.
Test 3 — The Paper Towel Floor Test
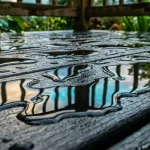
This test is great for spotting floor level moisture that you might not notice otherwise. Water seeping up through foundation cracks often goes undetected until it becomes a real problem.
Place several paper towels on the floor in different corners of your basement. Tape them down so they stay in place and cover them with plastic wrap to prevent evaporation. Leave them overnight and check them in the morning.
If any of the paper towels feel damp, water is coming up through the concrete. This could be from hydrostatic pressure pushing groundwater through cracks or from a high water table under your home. Even a small amount of moisture is a sign that your home waterproofing is not working the way it should.
This simple test is one of the easiest “how to check for leaks” methods because it requires nothing more than items you already have in your kitchen. If you find damp spots, it is time to investigate further or call in a professional.
Test 4 — The Efflorescence Check
Run your hand along your basement walls. Do you feel a white, chalky powder? That is efflorescence, and it is one of the most reliable signs that water has been inside your walls.
Efflorescence forms when water seeps through concrete or masonry and then evaporates, leaving behind mineral salts. Those salts appear as white or grayish deposits on the surface. The chalky residue is not harmful by itself, but it is a clear warning that moisture is making its way through your foundation.
This is one of the easy home waterproofing inspection tips that anyone can do in seconds. If you see efflorescence, you have proof that water has infiltrated your walls at some point. It may be an old issue that has dried up or an ongoing problem that will return with the next heavy rain.
Finding efflorescence does not always mean you have an active leak, but it does mean your foundation has been compromised before. And if water came in once, it can come in again. This test is a quick way to identify waterproofing inspection needs before they become expensive repairs.
Test 5 — The Garden Hose Exterior Test
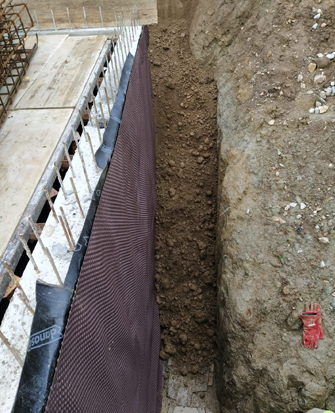
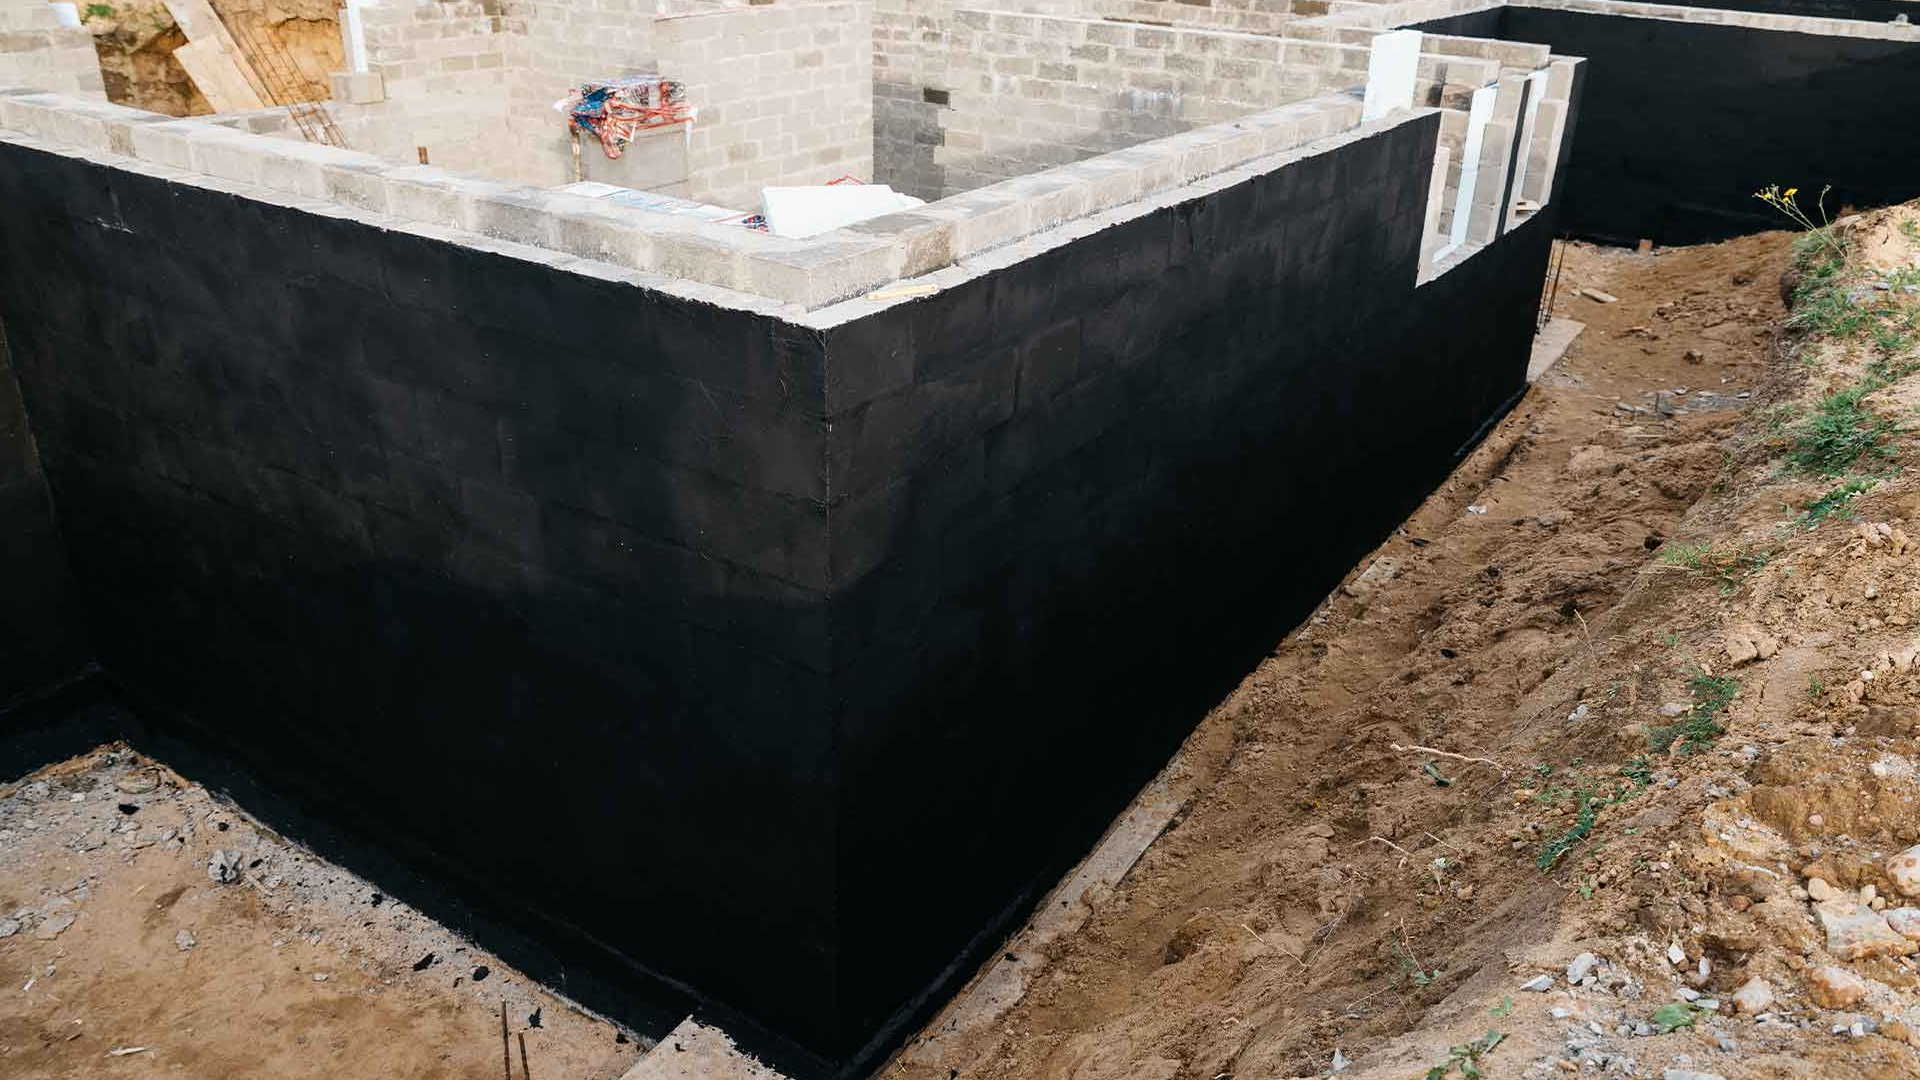
Place your garden hose on the ground about 10 feet away from your foundation wall. Let it run at a moderate flow for 20 minutes. Then go inside and check for water seeping in at the floor where the wall meets the concrete. If you see no moisture, move the hose closer to the foundation and test again.
If water appears inside while the hose is running, you have found a leak point. This is one of the most effective ways to check for leaks without tools for foundation walls. The test reveals exactly where water is entering and helps you pinpoint the problem area.
This is one of those practical DIY waterproofing inspection methods that can save you from costly repairs by catching issues early. If you find a leak, note the location and consider sealing the crack or calling a professional.
Test 6 — The Visual Inspection
This test does not require any tools. Just your eyes and a willingness to look closely at every corner of your home.
Walk through each room and pay attention to the details. Look at your ceilings. Do you see yellow, brown, or dark water stains? Those are signs that water has been traveling through your roof or pipes. Check your walls. Is the paint peeling or bubbling? That is trapped moisture pushing through. Are your doors and windows sticking? That can mean your foundation has shifted from water damage.
Step outside and walk around your property. Look for unusually green or soggy patches in your yard. Those could indicate an underground leak. Check your roof for missing or damaged shingles, especially after a storm. This is part of roof leak detection that you can do without climbing a ladder. Just look up from the ground. Sagging gutters, peeling paint, or water stains around your roofline are all clues.
This visual check is one of the easiest home waterproofing inspection tips to include into your routine. Make it a habit to look for these signs during a heavy rain. That is when weaknesses are most visible. A quick walk around your home every season can catch problems before they become expensive.
Can I Do Waterproofing Myself?
You have run the tests and found some issues. Now you are asking yourself, can I do waterproofing myself? The answer depends on what you found and how handy you are.
Here is the honest breakdown.
| Type of Issue | DIY Friendly? | Best Approach |
| Small crack in foundation wall | Yes, if hairline | Epoxy or polyurethane injection kit |
| Clogged gutters or downspouts | Yes | Clean them yourself, extend downspouts away from foundation |
| Poor soil grading around foundation | Yes | Add soil to create slope away from house |
| Minor efflorescence or surface dampness | Yes | Clean with vinegar, improve ventilation |
| Large or expanding foundation cracks | No | Call a waterproofing services professional |
| Recurring basement flooding | No | Professional roof waterproofing or foundation drainage needed |
| Hidden leak behind walls | No | Professional leak detection required |
DIY waterproofing works well for minor issues like sealing small cracks, cleaning gutters, and improving grading around your home. These are straightforward tasks that most homeowners can handle with basic tools and a trip to the hardware store.
Knowing your limits is part of smart home waterproofing. A small fix now can prevent a big expense later. But trying to fix a major issue without the right skills can make the problem worse. If you are unsure, get a professional waterproofing inspection before you spend money on the wrong solution.
Not Sure What to Do Next?
You do not need expensive tools or a professional to spot early warning signs. A piece of foil, a paper towel, your nose, and your eyes are enough to check for hidden moisture and catch small issues before they turn into big repairs. Run these six simple tests and you will know exactly how dry your home really is.
If you still cannot find the leak or are unsure, we do not blame you. At Chris Landscaping & Basement Waterproofing Corp, we provide professional waterproofing and drainage services to help you keep your home bone dry inside and out.
Frequently Asked Questions
1. How can I test waterproofing at home without tools?
You can use simple methods like the aluminum foil test, paper towel test, or a visual inspection to detect hidden moisture without any equipment.
2. What are the first signs of poor waterproofing?
Common signs include musty smells, peeling paint, water stains, and damp or cold walls.
3. Can a house have hidden water leaks even if walls look dry?
Yes, moisture can exist behind walls or under floors without visible damage, often detected through smell or condensation tests.
4. How often should I check my home for waterproofing issues?
It is best to inspect your home at least once every season, especially before and after heavy rains.
5. Can I fix waterproofing problems myself?
Minor issues like small cracks or clogged gutters can be DIY, but major leaks or structural problems require professional help.