You hear the first raindrops hit the window and you hold your breath. Will that ceiling stain from last year come back? Is that crack in the basement wall going to start seeping? You tell yourself you’ll deal with it next weekend. But the rain keeps coming, and suddenly you’re running around with buckets and towels.
If you’ve been asking yourself how to prepare your house for heavy rain, you’re not alone. Most homeowners know they should do something before the wet season hits. They just don’t know where to start.
This guide gives you a simple 24-hour plan. Follow this waterproofing checklist and you’ll know your home is ready when the clouds roll in.
When Is the Best Time to Do Waterproofing?
Timing matters. If you wait until the first storm hits, you’re already behind.
When is the best time to do waterproofing? The answer is simple. Before the rainy season starts. Ideally, you want to tackle this in the weeks leading up to the first heavy rains, when the weather is still dry enough for sealants and coatings to cure properly.
If you’re wondering how to check house for leaks before monsoon, the window is usually late spring or early summer, depending on where you live. The goal is to identify problems while they’re still visible and fix them while the surfaces are dry.
Don’t wait until water is dripping through your ceiling. A pre-monsoon checklist to waterproof your home gives you the chance to catch issues early. A small crack in the foundation is easy to seal. A missing shingle is simple to replace. But once the rains start, those small problems become emergency repairs.
The best time to waterproof is now. Today. Before the forecast changes.
The 24-Hour Waterproofing Inspection Checklist
Let’s break this into a manageable timeline. You don’t have to do everything at once. Spread these tasks across a single day, and you’ll hit every critical area.
Exterior and Roof Inspection (Hours 1–8)
Start where the rain hits first. The roof and the outside walls.
Task | What to Look For | How to Fix |
Inspect roof | Missing, cracked, or curled shingles; gaps around chimneys and vents | Replace damaged shingles; seal gaps with roof cement |
Clean gutters and downspouts | Leaves, twigs, debris blocking water flow; downspouts dumping water near foundation | Clear all blockages; extend downspouts at least 3-4 feet away from house |
Check exterior walls | Cracks in stucco, brick, or siding; gaps around windows and doors | Seal cracks with exterior-grade caulk; fill gaps with expanding foam |
Trim trees | Branches hanging over the roof | Cut back limbs that could fall during storms or drop debris into gutters |
This first block takes care of the big stuff. Your roof and gutters are your first defense. If water can’t get past them, it never reaches your walls or foundation.
A solid waterproofing inspection checklist starts here. Don’t skip the roof just because it’s hard to see. That’s where most leaks begin.
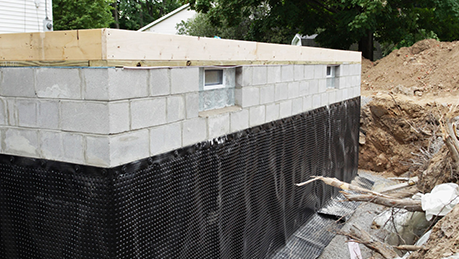
Foundation and Drainage Check (Hours 9–16)
Now shift your focus down. Water that makes it past the roof needs to be guided away from your foundation. This block is all about drainage and grading.
Check Yard Grading
Walk around your house after a light rain or run a sprinkler. Watch where the water goes. Does it pool against the foundation? Does it flow toward the house instead of away? The ground should slope away from your walls, at least six inches over the first ten feet. If it doesn’t, add soil to build up the low spots.
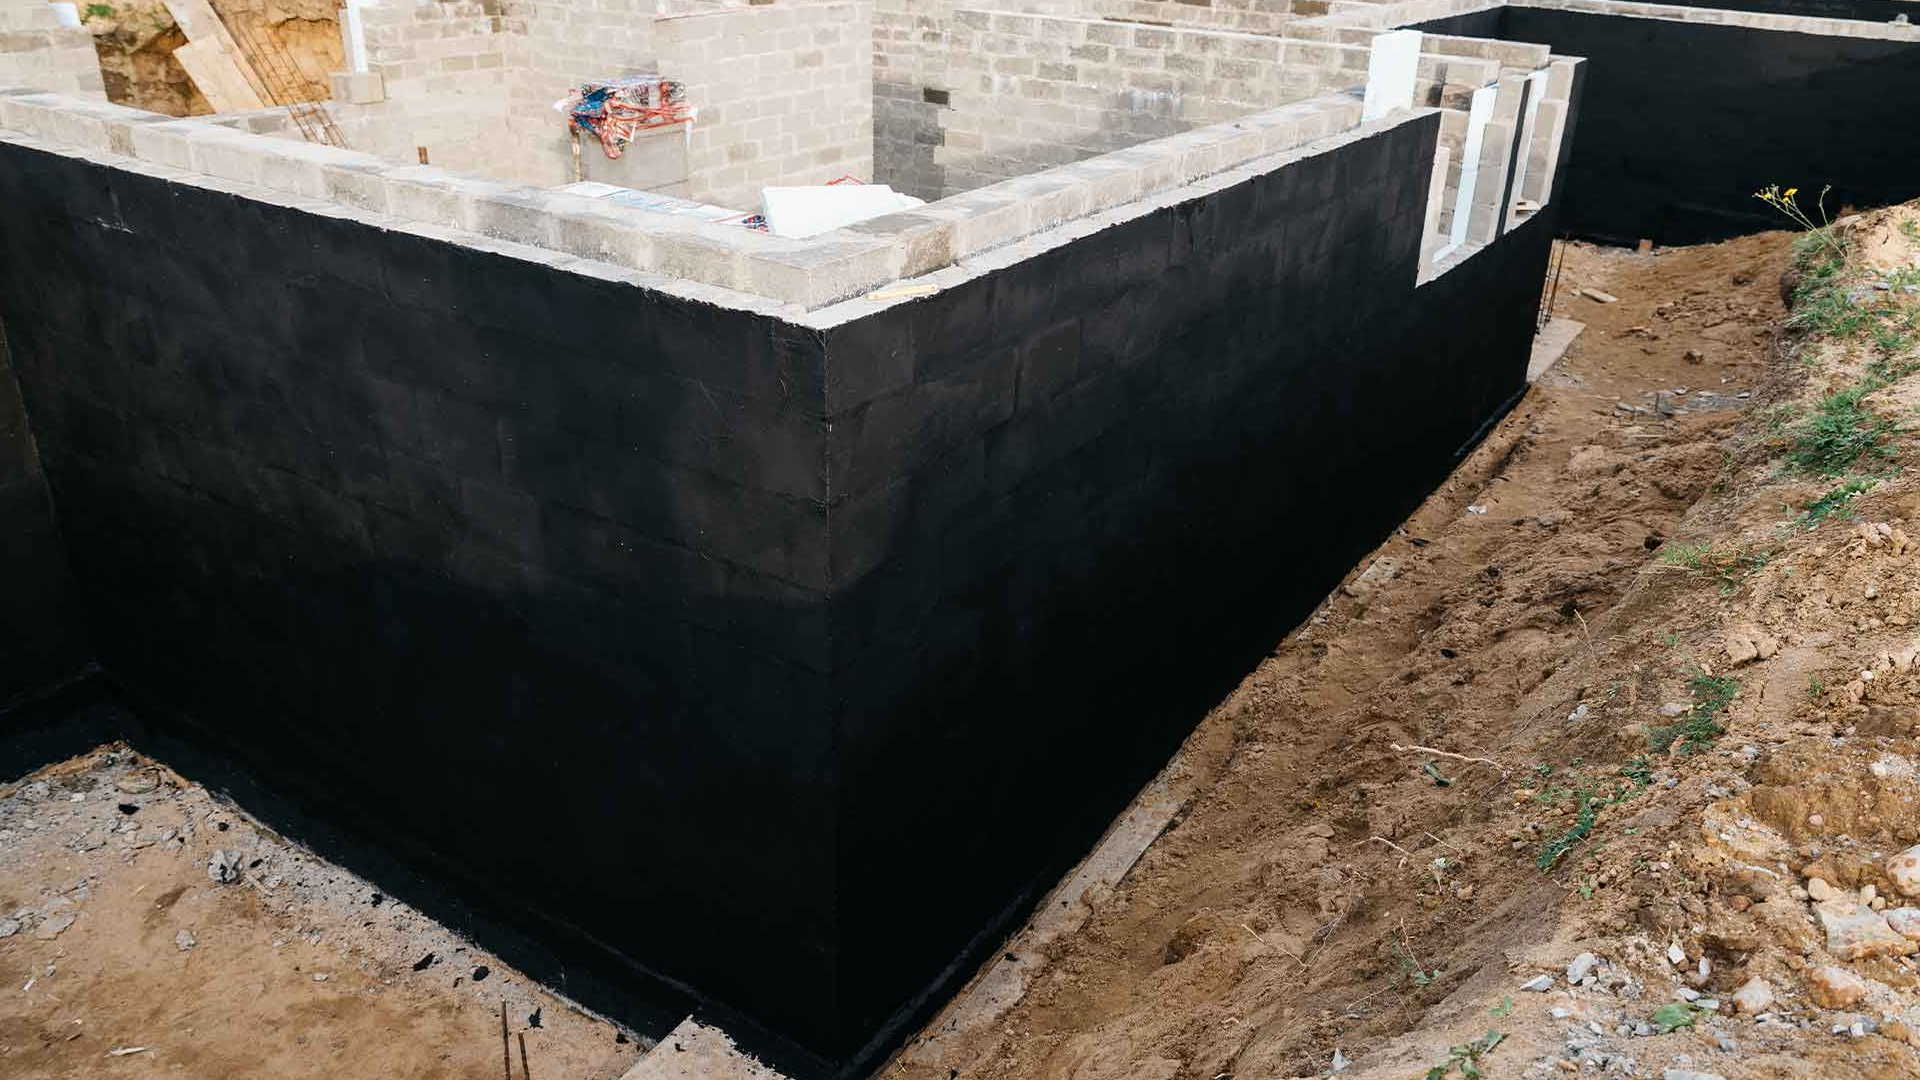
Inspect the Foundation
Look for visible cracks in the concrete or masonry. Hairline cracks can be sealed with epoxy or hydraulic cement. Larger cracks or bowing walls need professional attention. Also check for damp spots or efflorescence, the white powdery residue that signals moisture moving through the wall.
Clear Outdoor Drains
Check courtyard drains, driveway grates, and any surface drains around your property. Remove leaves, dirt, and debris that could block water during a heavy downpour.
Things to fix before the rainy season starts often hide in plain sight. A downspout that’s dumping water right next to your foundation. A low spot in the yard where water always pools. A drain that’s clogged with last fall’s leaves. Fix these now, and you won’t be dealing with basement water when the rain comes.
This part of the checklist for waterproofing is about controlling where water goes. You can’t stop the rain, but you can make sure it doesn’t end up where it shouldn’t.
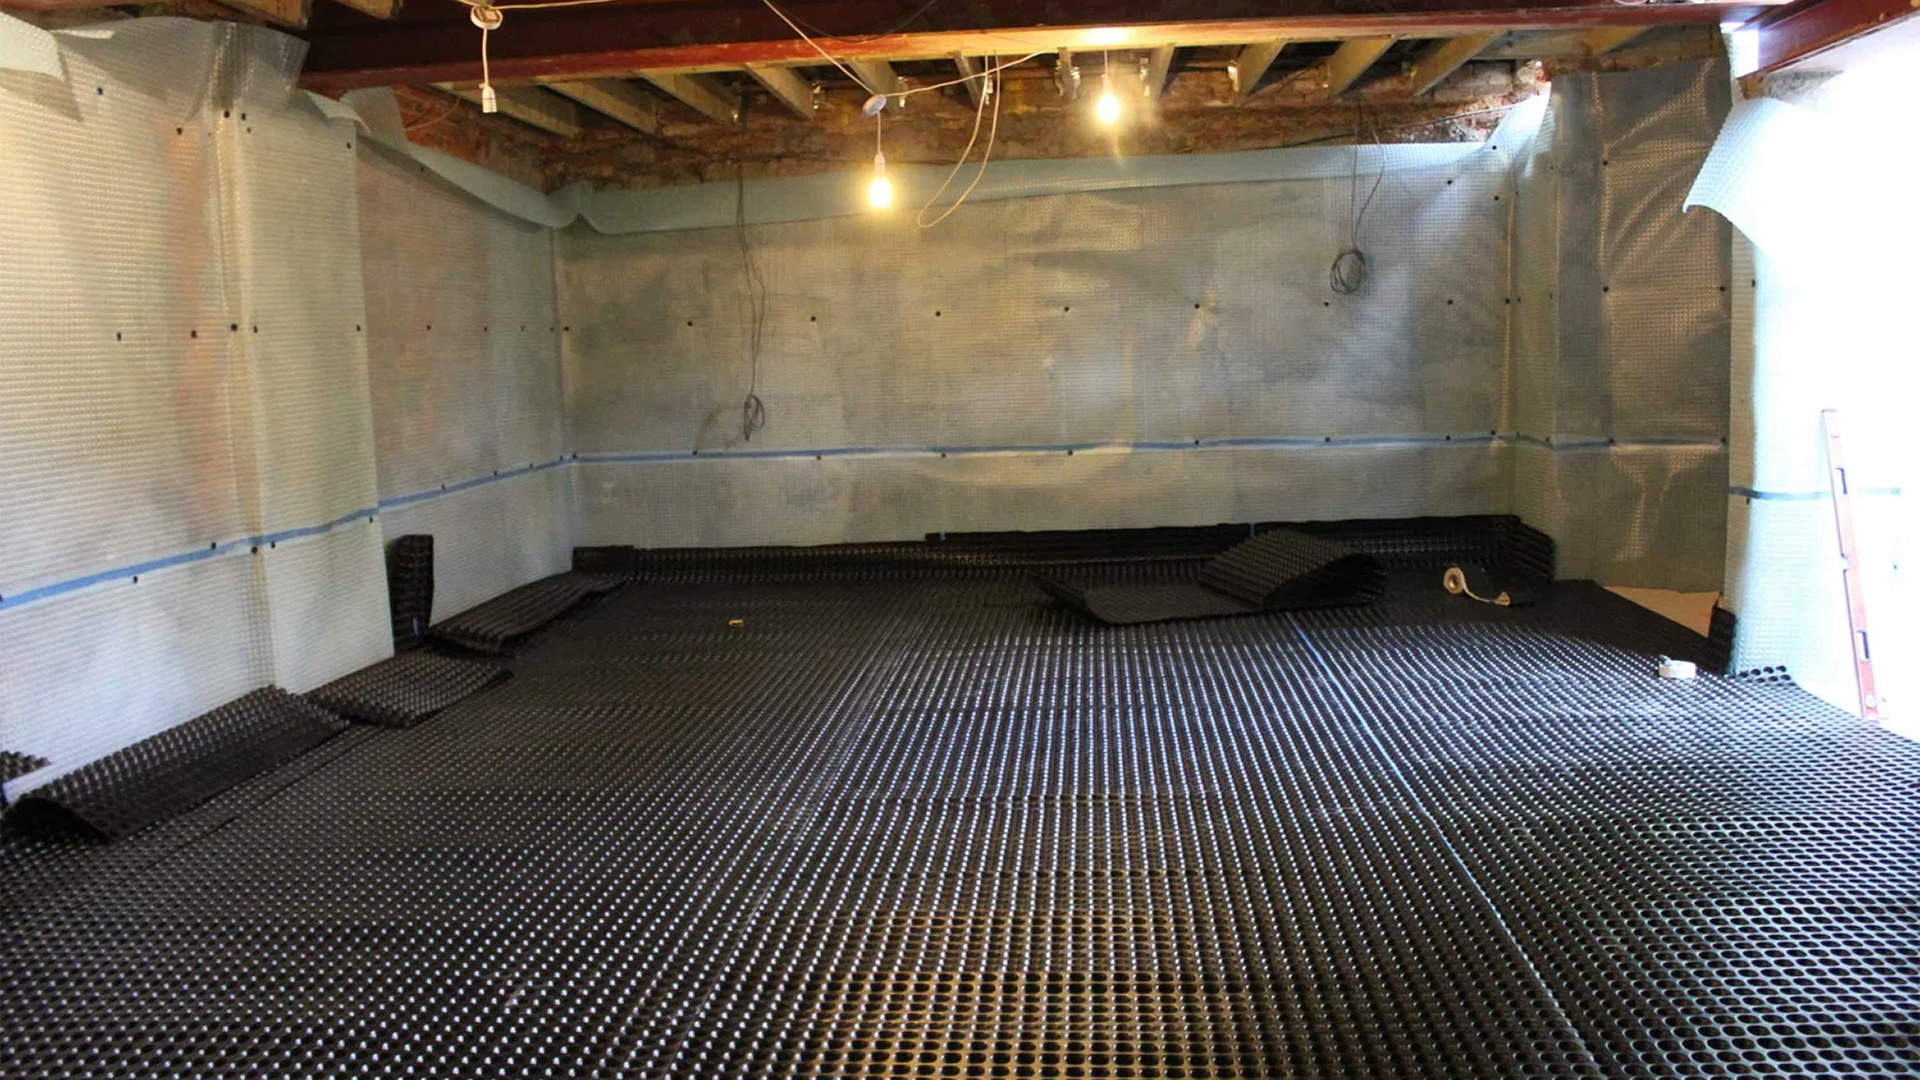
Basement and Interior Protection (Hours 17–24)
The final block focuses on what happens inside. Even with good exterior defenses, water can still find a way. This is where you check your last lines of defense.
Inspect the Basement
Look for damp spots, efflorescence, or any signs of seepage. Pay attention to corners and wall-floor joints. If you see moisture, you’ve got a problem that needs addressing before the rains hit.
Test Your Sump Pump
Pour a bucket of water into the pit. The pump should kick on, move the water out, and shut off. If it doesn’t, you need a repair or replacement. Consider adding a battery backup. A power outage during a storm is exactly when you need your sump pump most.
Check Floor Drains
Pour a gallon of water down any basement floor drains. This fills the P-trap and prevents sewer gas from backing up into your home. It also confirms the drain isn’t clogged.
Inspect Window Wells
Clear out leaves and debris. Make sure covers are secure. If water pools in window wells during heavy rain, it can seep in around the window frame.
Control Humidity
Run a dehumidifier in the basement or crawlspace. Keeping moisture levels down prevents mold growth and makes your home less hospitable to pests.
A professional basement waterproofing inspection can catch problems you might miss. But these DIY checks cover the basics. They tell you where water is already getting in or where it’s likely to go when the rain starts.
Home waterproofing isn’t just about keeping water out. It’s about giving yourself peace of mind when the forecast says rain for the next five days.
Common Waterproofing Issues Homeowners Should Fix Early
Some problems are easy to spot. Others hide until they become emergencies. Here’s what to look for.
Issue | Why It Matters | What to Do |
Cracks in walls or foundation | Water finds the path of least resistance. Cracks are that path. | Seal small cracks with epoxy or hydraulic cement. Monitor larger cracks for movement. |
Clogged gutters | Overflowing gutters dump water right next to your foundation. | Clean gutters twice a year. Install gutter guards to reduce debris buildup. |
Poor drainage around foundation | Water that pools against your walls will eventually find a way in. | Regrade soil so it slopes away from the house. Extend downspouts at least 3-4 feet. |
Damaged seals around windows and doors | Gaps let water seep into walls, leading to rot and mold. | Replace worn weatherstripping. Reapply exterior caulk around frames. |
Basement seepage | Damp floors or walls signal water is already getting through. | Check your sump pump. Seal visible cracks. Consider interior drainage if seepage is persistent. |
These are the things to fix before the rainy season starts that often get you quick wins. A weekend of work now saves you from a basement full of water later.
Essential Waterproofing Solutions to Consider
Once you’ve identified the problem areas, it’s time to pick the right fix. Not all waterproofing methods are the same.
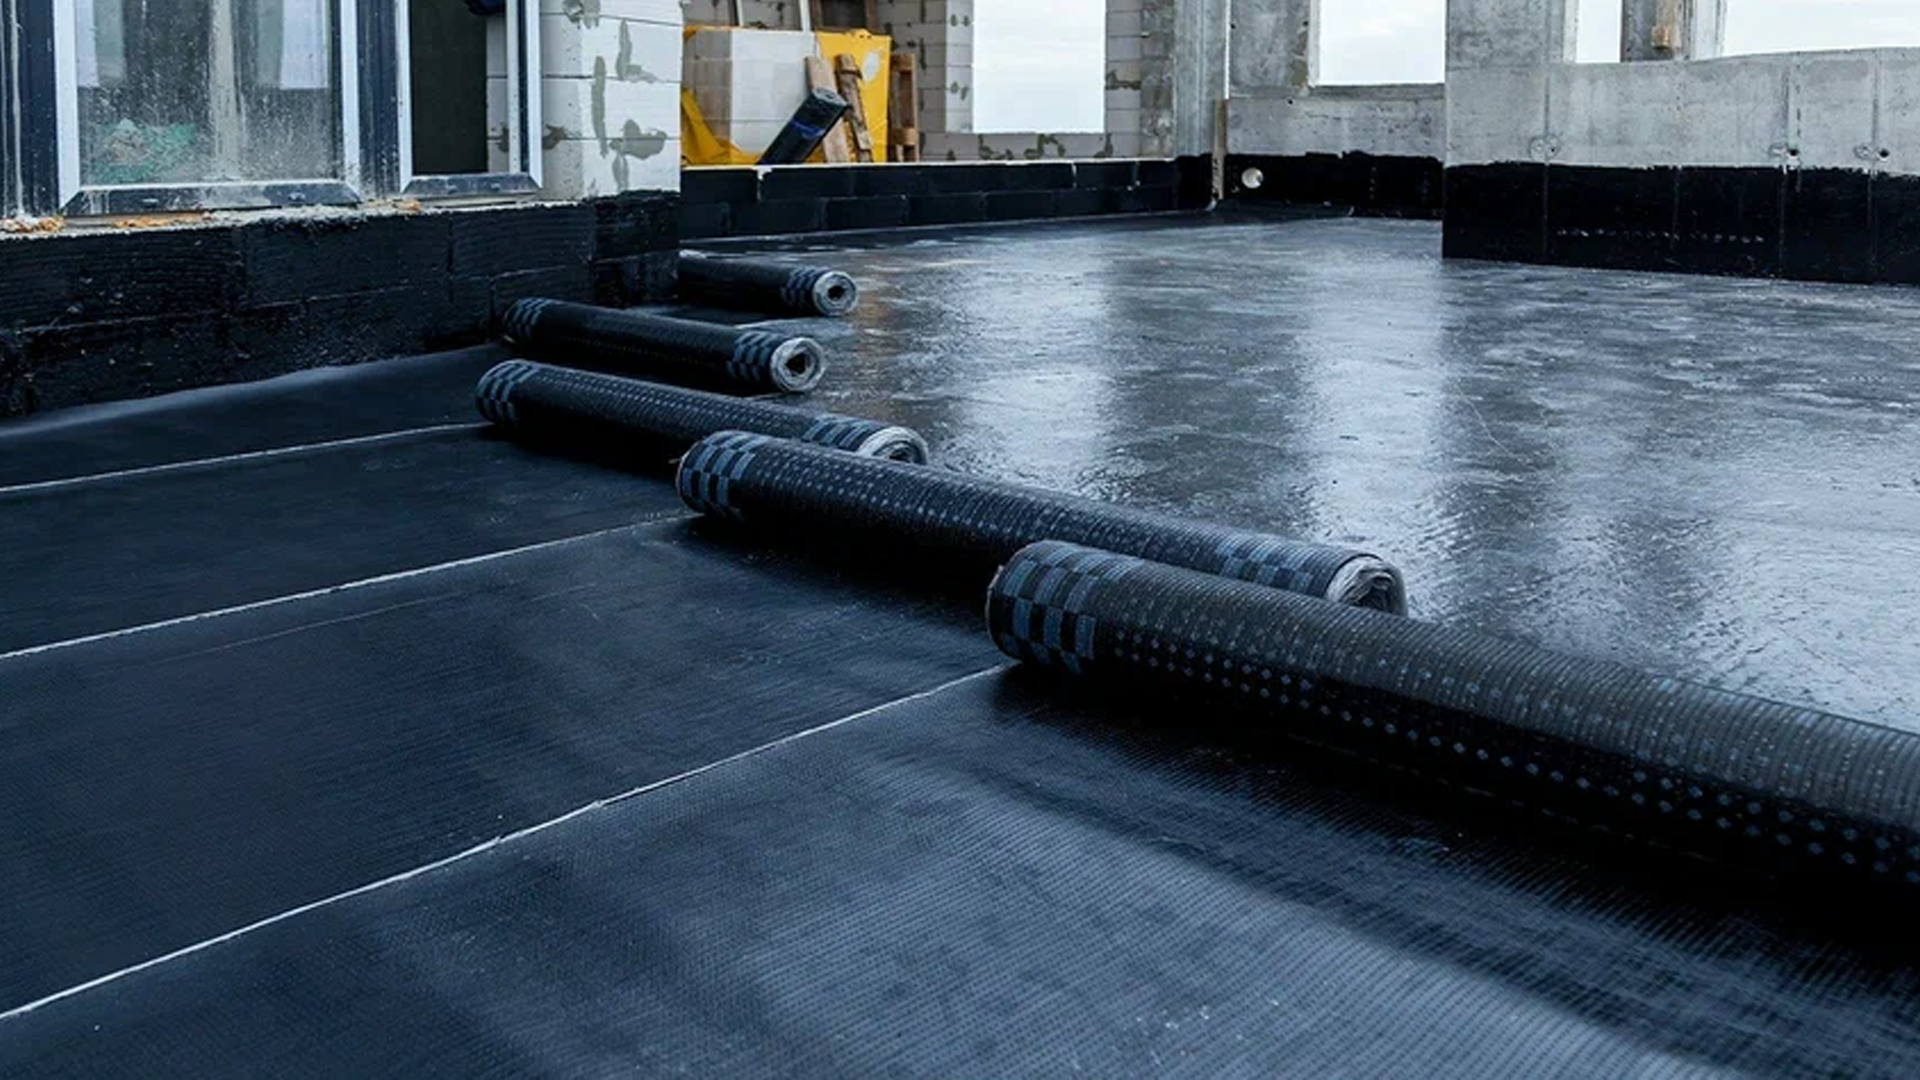
- Sealants and coatings. For cracks in walls, foundations, or around windows, a quality exterior-grade sealant does the job. Look for products designed for your specific surface. Concrete needs different treatment than wood or stucco.
- Waterproof paints. These work best for interior basement walls that show signs of dampness but not active seepage. They create a moisture barrier that helps keep humidity down. Just know that paint won’t stop water under pressure. If water is pushing through, you need a stronger solution.
- Drainage improvements. Sometimes the best fix is outside. French drains channel groundwater away from your foundation. Downspout extensions push roof runoff farther from your walls. Regrading your yard costs nothing but labor and is often the most effective change you can make.
- Sump pump systems. If your basement gets water regularly, a sump pump is your best defense. The pump collects groundwater and moves it away before it can flood your floors. A battery backup ensures it keeps working when the power goes out.
Waterproofing services can handle the big jobs. When you’re dealing with foundation cracks, bowing walls, or persistent basement seepage, a professional has the tools and experience to fix it right. Some problems aren’t meant to be DIY.
The right Waterproofing solutions depend on your specific problem. A crack in the wall needs sealing. A wet basement needs drainage. Know what you’re dealing with before you buy products.
Quick Waterproofing Plan You Can Follow
You’ve got the checklist. Now here’s the action plan. Follow these steps and you’ll hit everything that matters.
Time Block | Focus Area | Key Tasks |
Hours 1-4 | Roof and Gutters | Inspect roof, clean gutters, trim overhanging branches, check flashing |
Hours 5-8 | Exterior Walls | Seal cracks, check window frames, inspect door thresholds |
Hours 9-12 | Foundation and Yard | Check grading, extend downspouts, inspect foundation for cracks |
Hours 13-16 | Drainage | Clear outdoor drains, test French drains if you have them, check sump pump pit |
Hours 17-20 | Basement Interior | Inspect walls for dampness, test sump pump, check floor drains, run dehumidifier |
Hours 21-24 | Final Checks | Revisit any problem areas, make sure all fixes are dry and set, review your work |
This waterproofing plan breaks a big job into manageable pieces. You don’t have to do everything at once. Spread it across a weekend or tackle one block each evening after work.
Conclusion
Twenty-four hours is all it takes to get your home ready for the rainy season. Start with the roof and gutters. Move to walls and windows. Check your foundation and yard drainage. Test your sump pump and inspect the basement. Each step seals another crack where water could sneak in. Follow the plan and you’ll face the first storm knowing you’ve done the work.
If you’d rather leave it to the pros, Chris Landscaping & Basement Waterproofing Corp can help. We provide professional Waterproofing Services that keep your home bone-dry during the rainy season so you don’t have to carry a bucket everywhere you go.
Call us at (516) 439-9462 to learn more.
FAQs
- How do I know if my house needs waterproofing before the rainy season?
Look for signs like wall cracks, damp spots, peeling paint, ceiling stains, or water pooling near the foundation.
- What is included in a waterproofing inspection checklist?
It typically includes roof inspection, gutter cleaning, foundation crack checks, drainage assessment, and basement moisture inspection.
- How can I check my house for leaks before monsoon rains?
Inspect ceilings, walls, windows, and basements for stains or dampness, and test areas like the roof, gutters, and sump pump for proper function.
- When is the best time to complete home waterproofing?
The best time is before the rainy season starts, ideally during dry weather so sealants, coatings, and repairs can set properly.
- What are the most important things to fix before the rainy season starts?
Focus on sealing cracks, cleaning gutters, improving drainage, repairing roof issues, and ensuring your sump pump and window seals are working properly.